Why Start with Gold NMM?
Non-Metallic Metal (NMM) is the technique that separates tabletop-quality paint jobs from display pieces that catch every eye in the room. And gold NMM is the perfect entry point — the color palette is small, the contrast rules are straightforward, and the results are instantly rewarding.
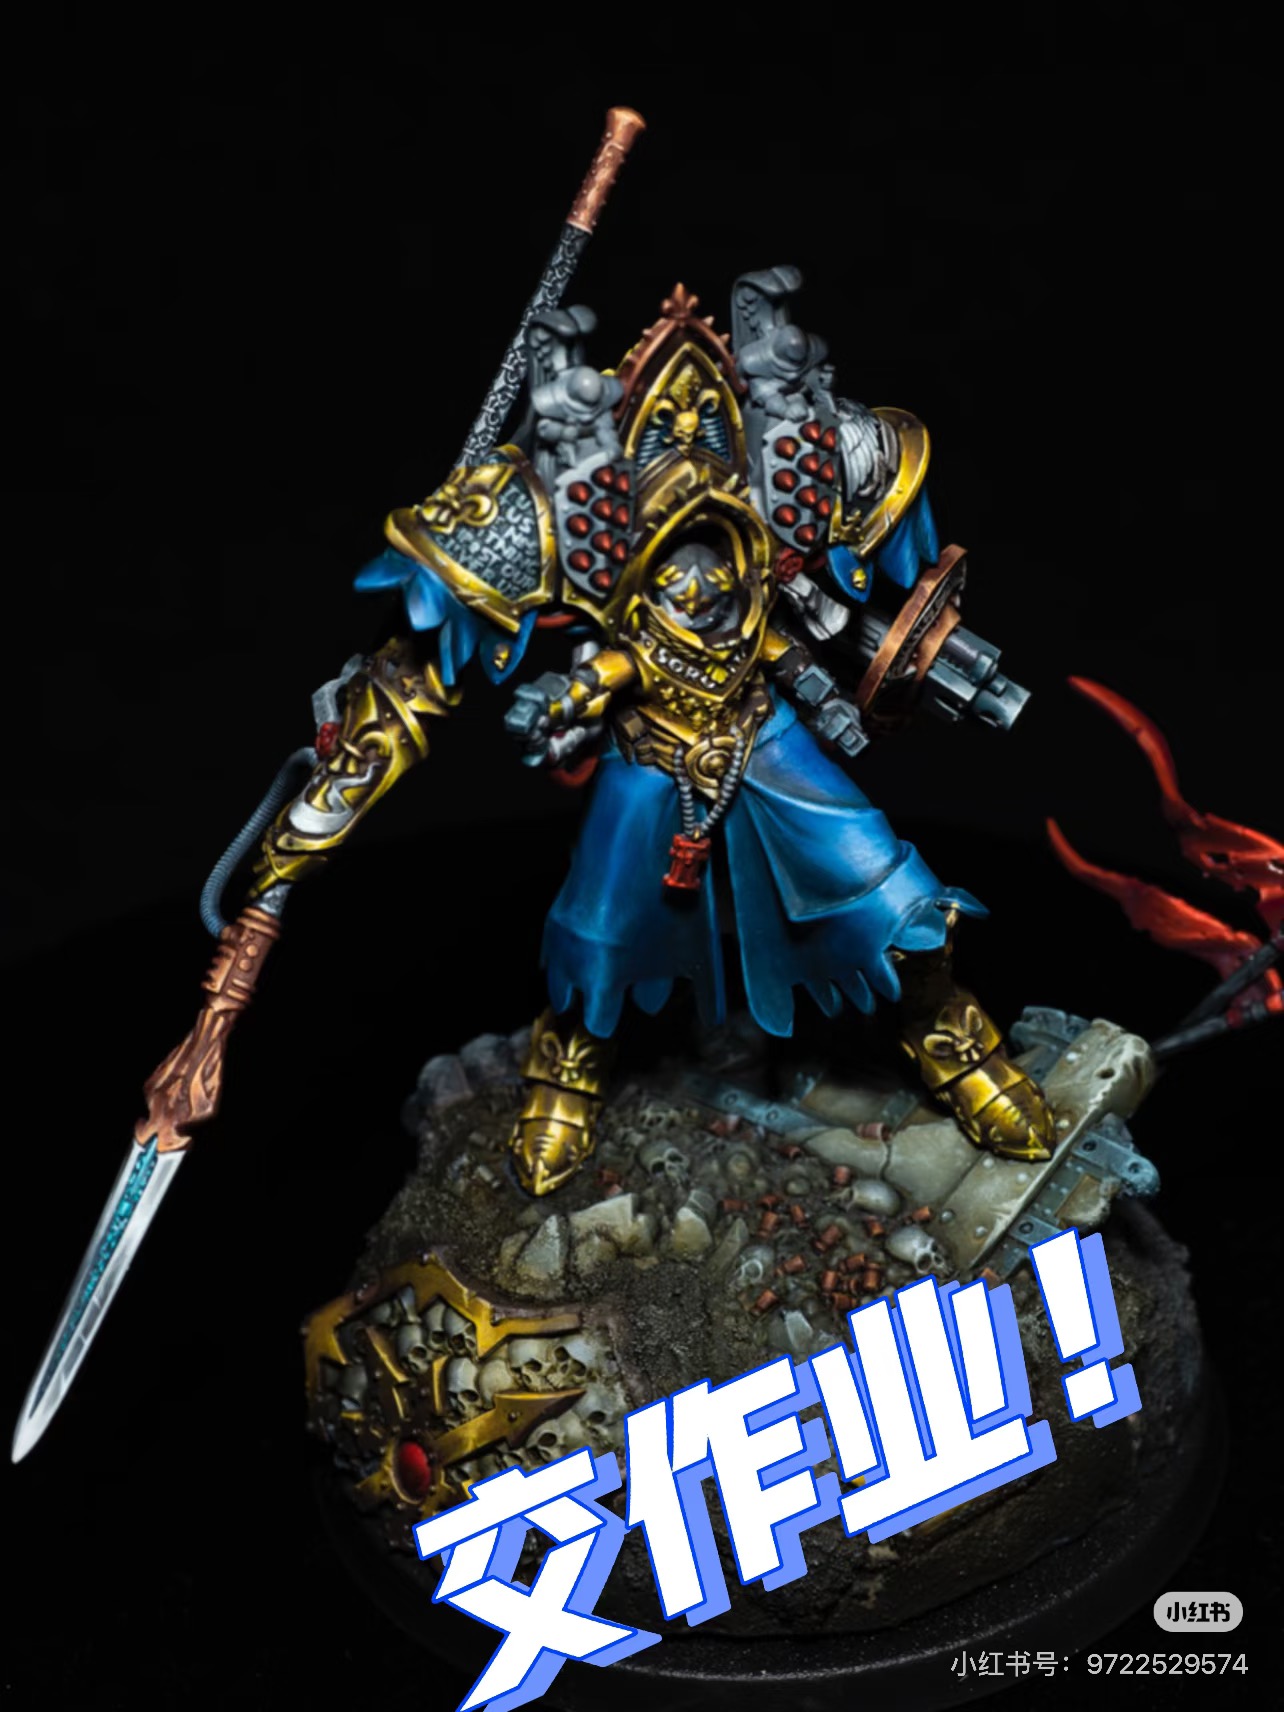
In this guide, I will walk you through painting gold NMM on a Warhammer Custodes shoulder pad — the exact technique our Maxon Casting painters use for Premium and Exhibition tier commissions.
What You Need
- Paints: Rhinox Hide (dark brown), XV-88 (mid brown), Balor Brown (warm yellow-brown), Zamesi Desert (pale yellow), Dorn Yellow (off-white), White Scar (pure white)
- Brushes: Size 1 for base work, Size 0 for detail — Winsor & Newton Series 7 or Raphael 8404 recommended
- Wet Palette: Essential for blending. Keeps your paint workable for hours.
- Reference: A photo of a gold object under lighting. Seriously — this helps more than you think.
Step 1: Base Coat
Apply two thin coats of Rhinox Hide. This dark brown serves as your shadow color — every surface you leave showing will read as the deepest gold shadow. Don’t rush this step — smooth coverage here makes everything else easier.
Step 2: Map Your Light
Gold NMM works because of high contrast between light and dark. Pick a light source direction — top-left is the classic choice. Every highlight you place will follow this light source. Consistency is everything.
Mix XV-88 with Rhinox Hide (2:1) and paint about 60% of each surface, leaving the bottom 40% as pure Rhinox Hide shadow.
Step 3: Build the Mid-Tones
Pure XV-88 over about 40% of the surface. Then mix XV-88 with Balor Brown (1:1) over 30%. Each layer should be smaller than the last, creating a gradient from dark (bottom) to light (top).
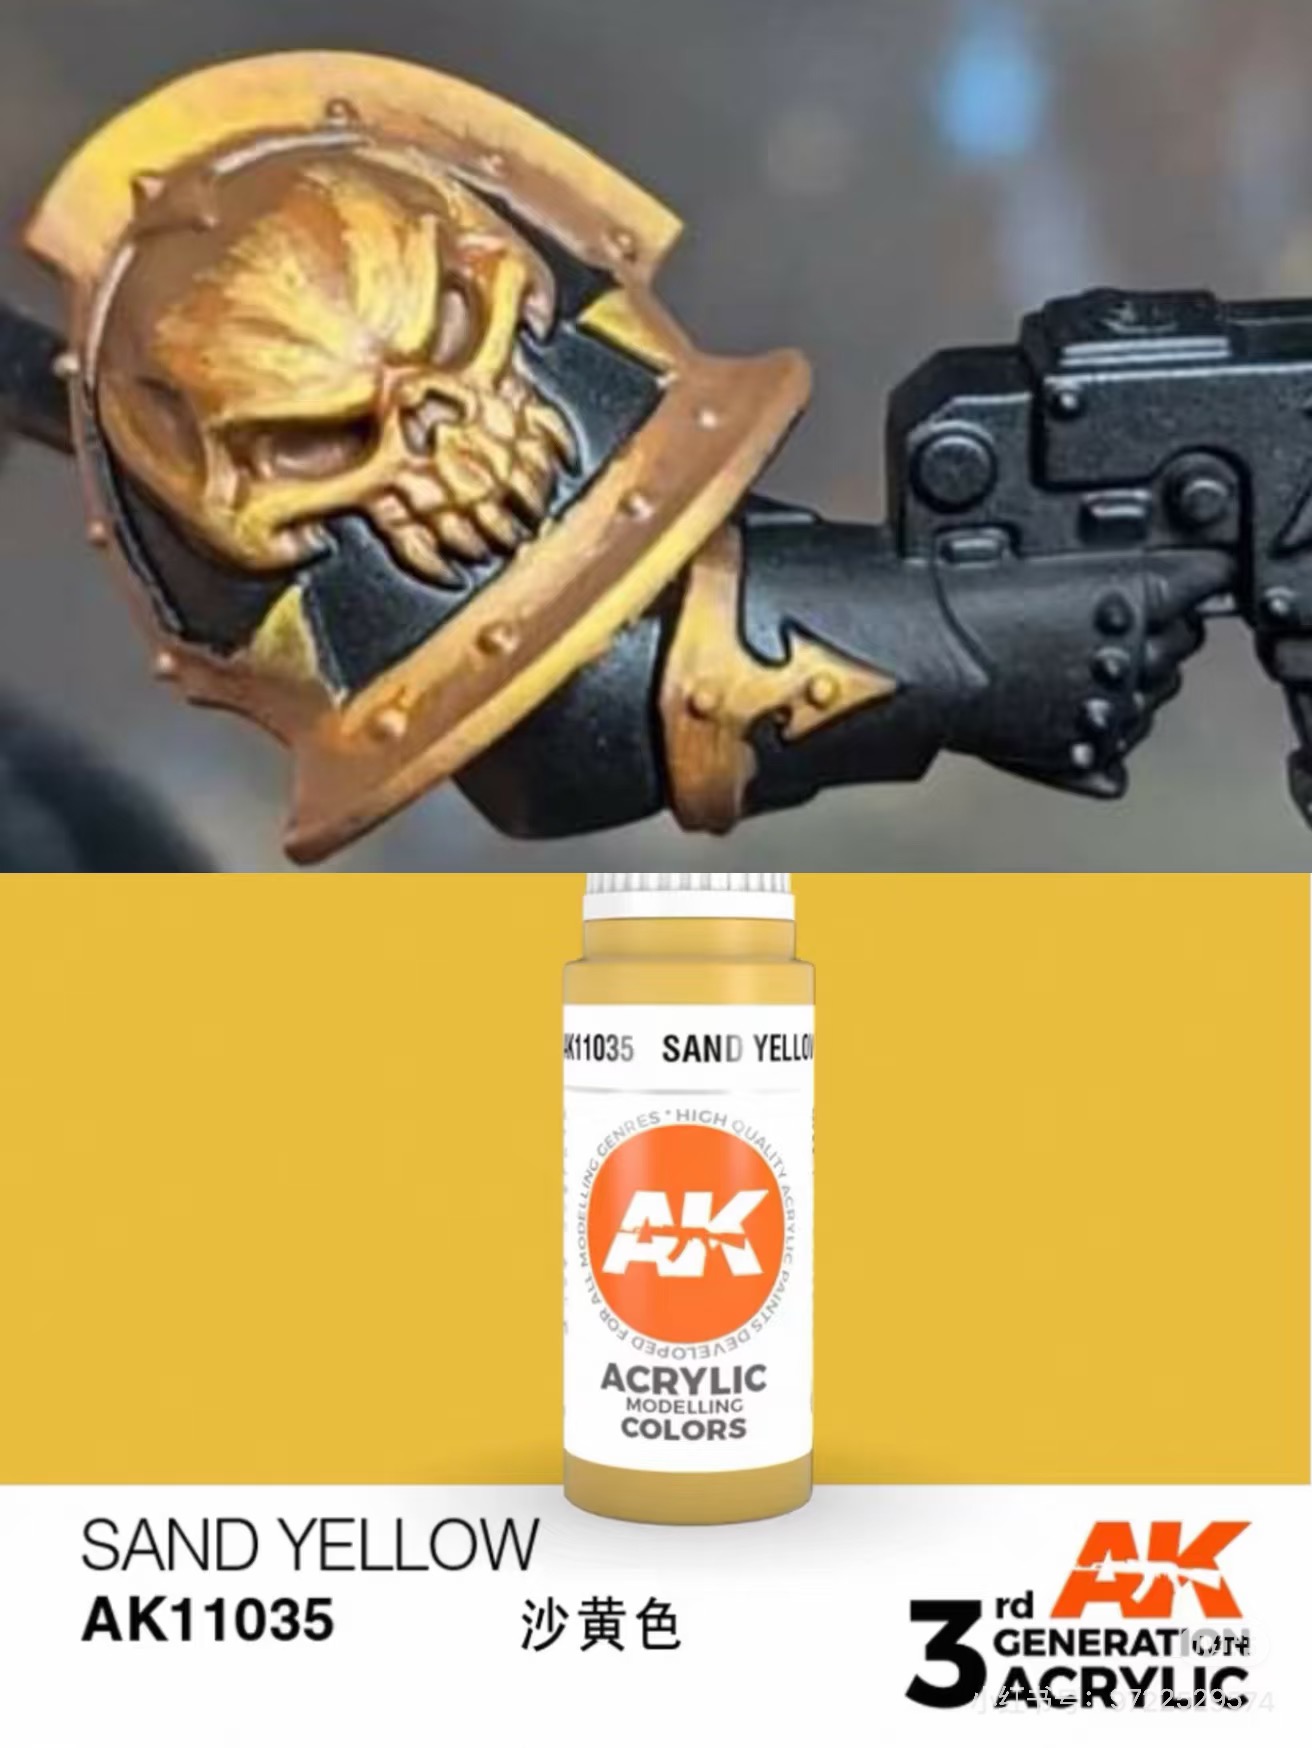
Step 4: The Gold Warmth
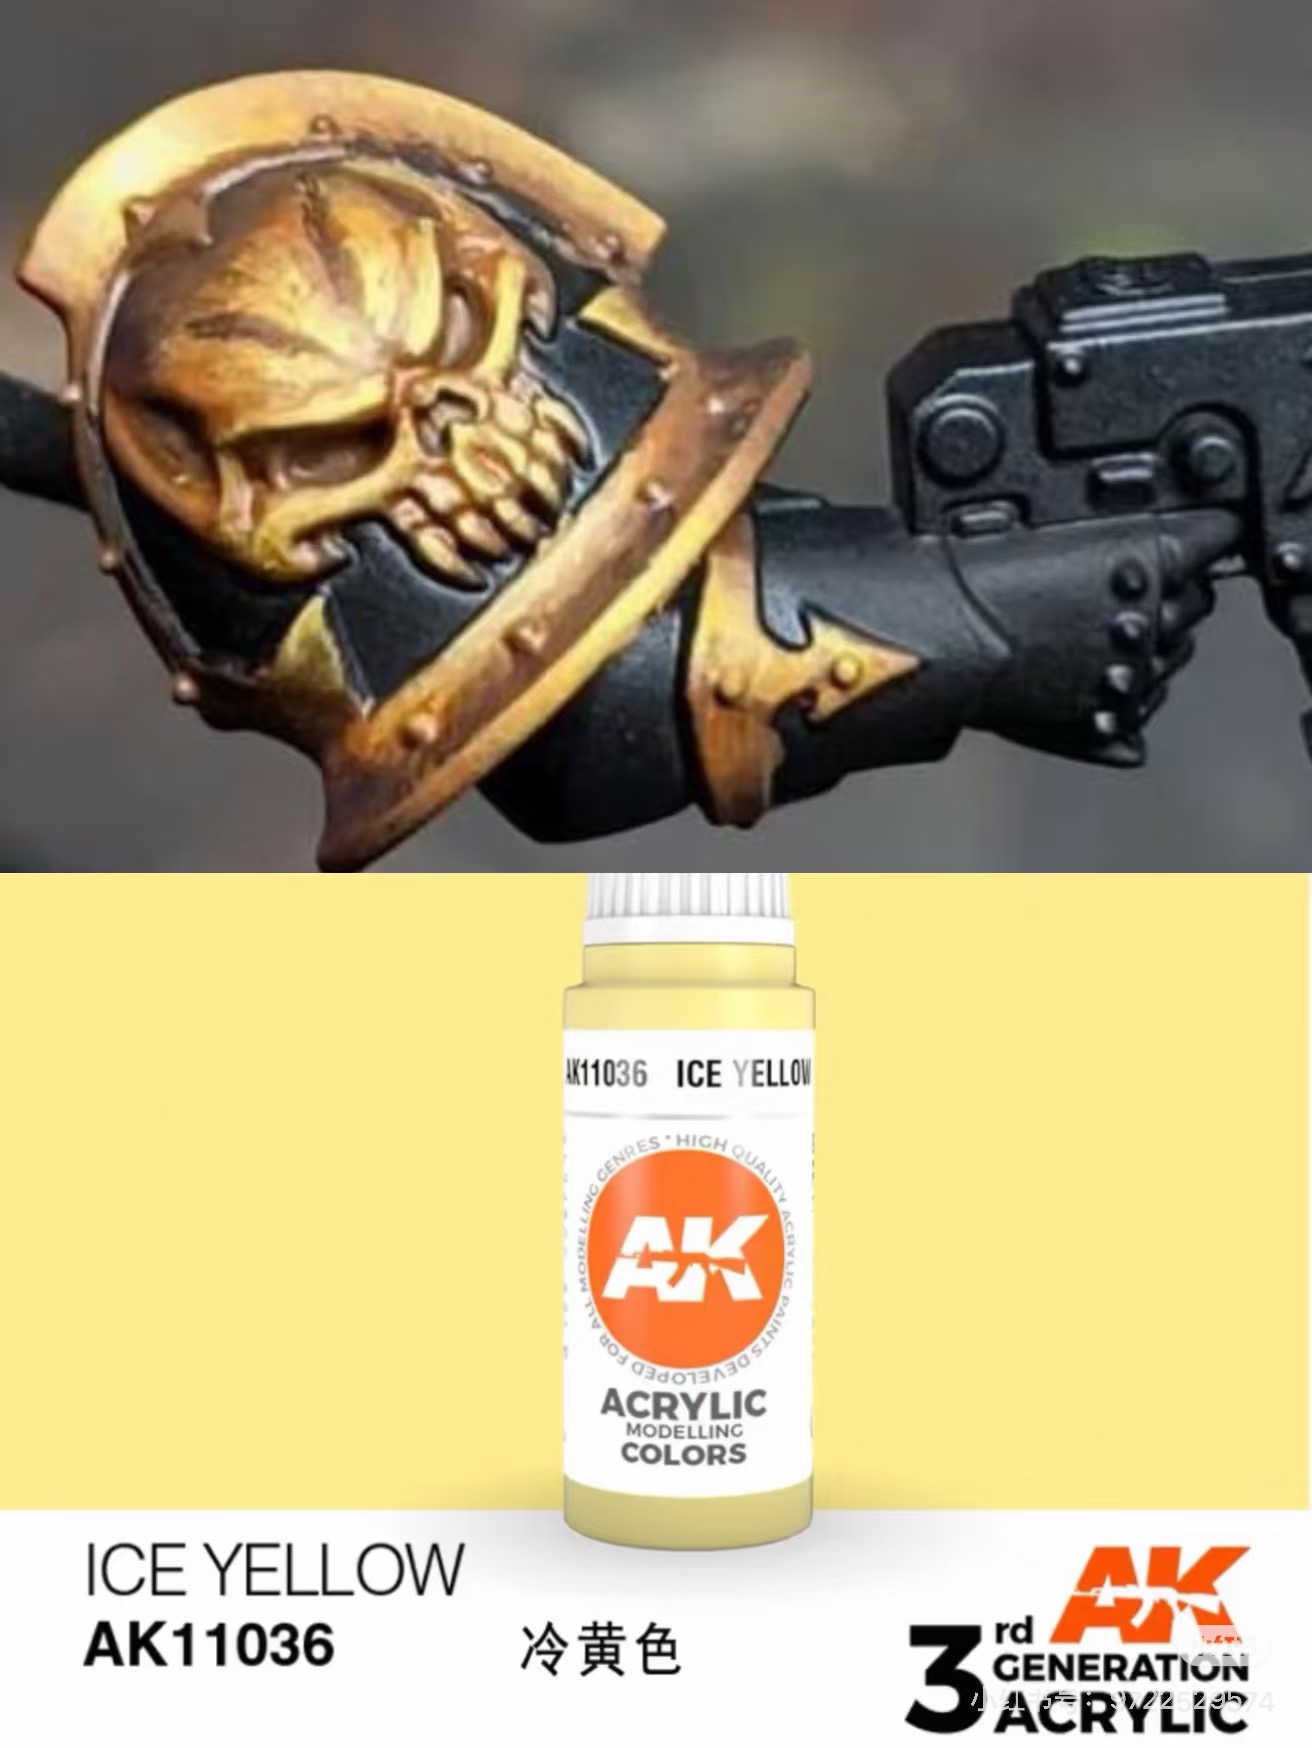
Pure Balor Brown over 20% — this is where the color shifts from brown to gold. Then Balor Brown with Zamesi Desert (1:1) over 15%. You should see real gold tones emerging now.
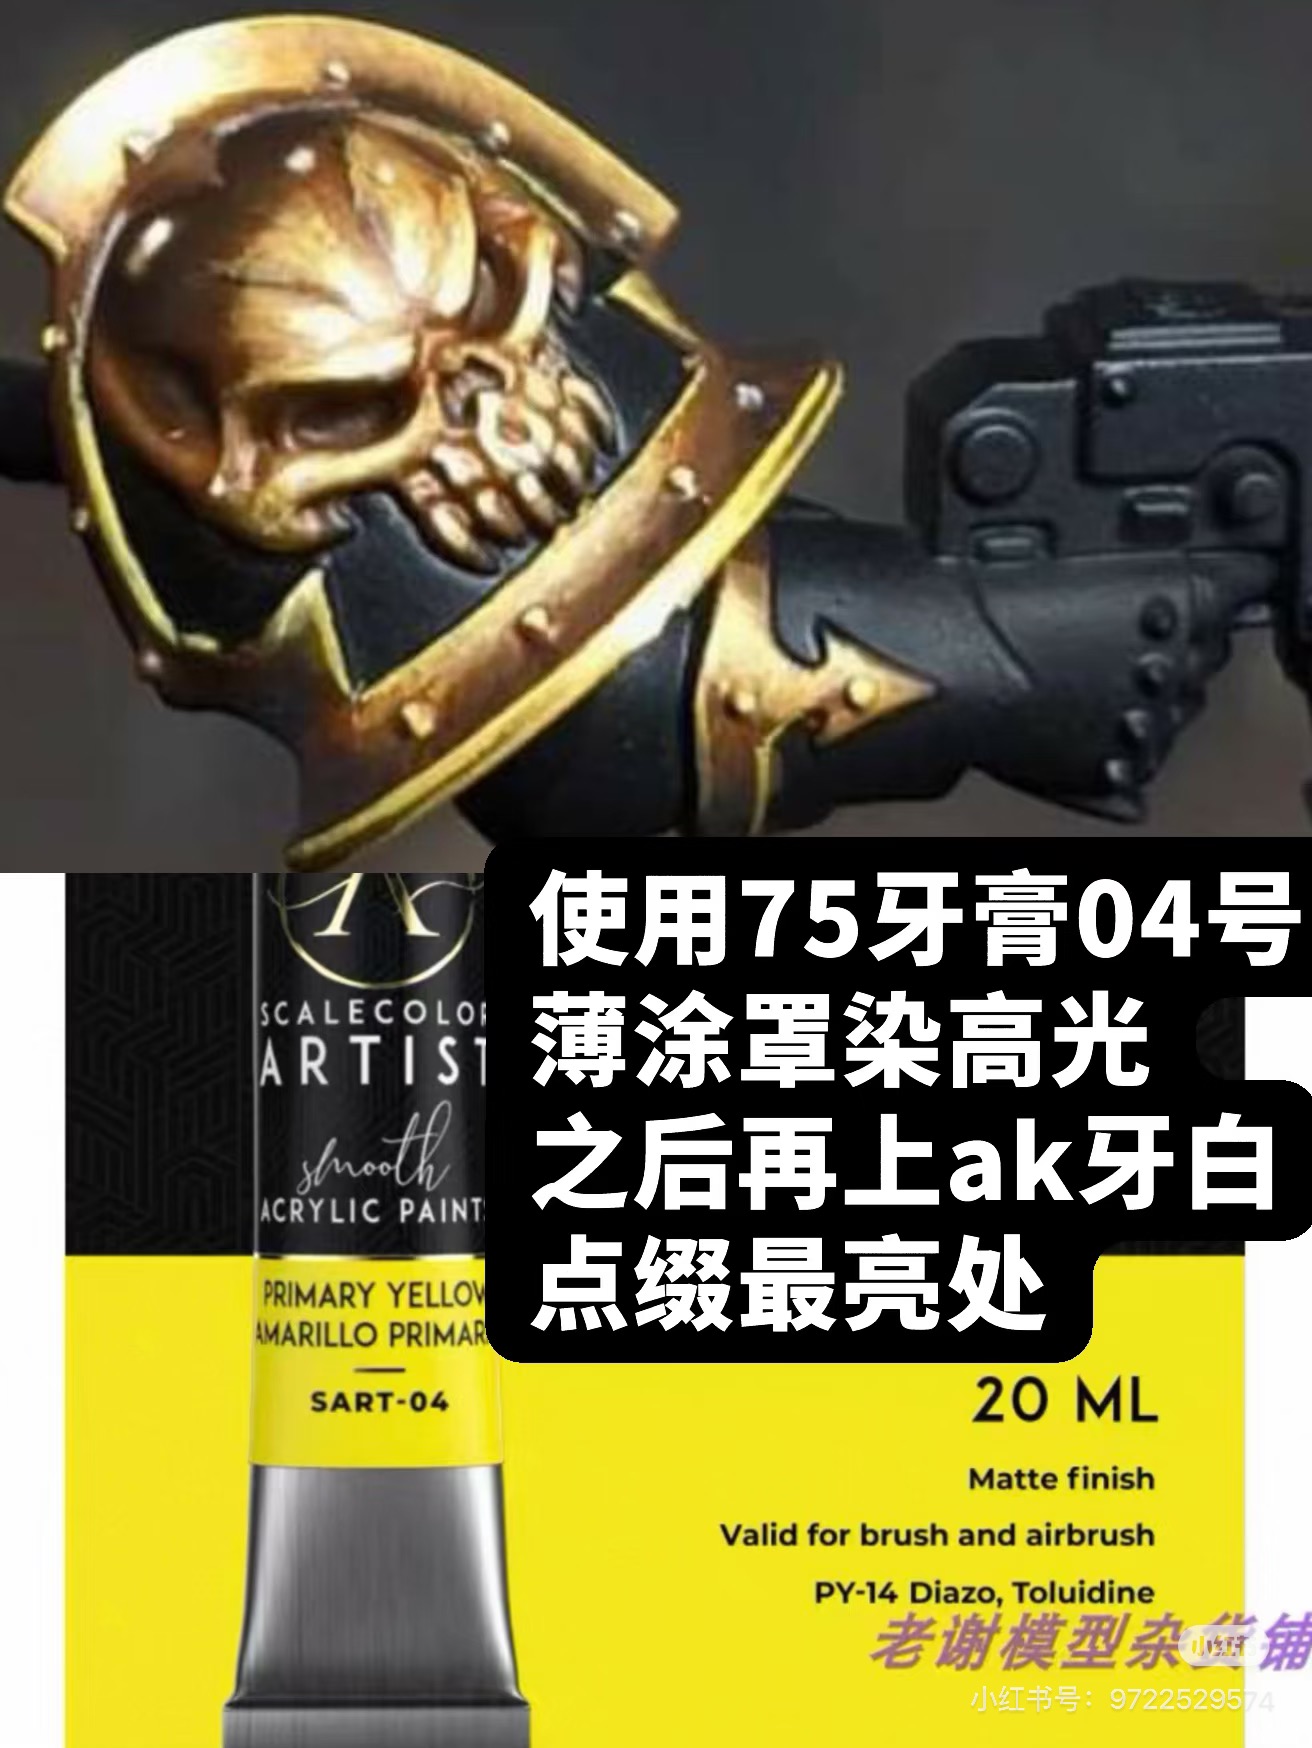
Step 5: Highlights That Pop
Pure Zamesi Desert on the highest surfaces — the top edge, the rim, any raised detail. Then Dorn Yellow on just the very top edges. Finally, a dot of White Scar on the absolute highest point. This final white dot creates the metallic “”sparkle”” effect that sells the illusion.
Step 6: Glaze to Unify
Thin Balor Brown heavily with water (about 6:1 water to paint). Apply this glaze over the entire gold area. This unifies the transitions between your layers and adds warmth. Two to three thin glazes make a massive difference.
Common Beginner Mistakes
- Too little contrast: You need very dark browns next to very pale yellows. If the whole area looks “”beige,”” you lack contrast.
- Inconsistent light source: Pick one light direction and stick to it religiously.
- Rushing the glaze: The glaze step takes patience. Let each layer dry fully before the next.
- Too thick paint: NMM requires thin layers. If you see brush strokes, thin more.
Ready to Go Pro?
Gold NMM takes practice — expect your first few attempts to look rough. That is completely normal. Our painters at Maxon Casting went through the same learning curve before they could deliver exhibition-quality work. If you would rather spend your hours gaming than practicing NMM, check out our professional commission painting services →
For more techniques and complete tool recommendations, read our Ultimate Warhammer Miniature Painting Guide →