Why Ice Bases Make Your Army Stand Out
Snow and ice basing transforms Warhammer miniatures into frozen battlefield dioramas. Whether painting Space Wolves on Fenris or Chaos warriors in the Northern Wastes, a convincing ice effect sells the entire scene. Here is what I learned — including the mistakes to avoid.
Step 1: AB Resin — Get the Ratio Right
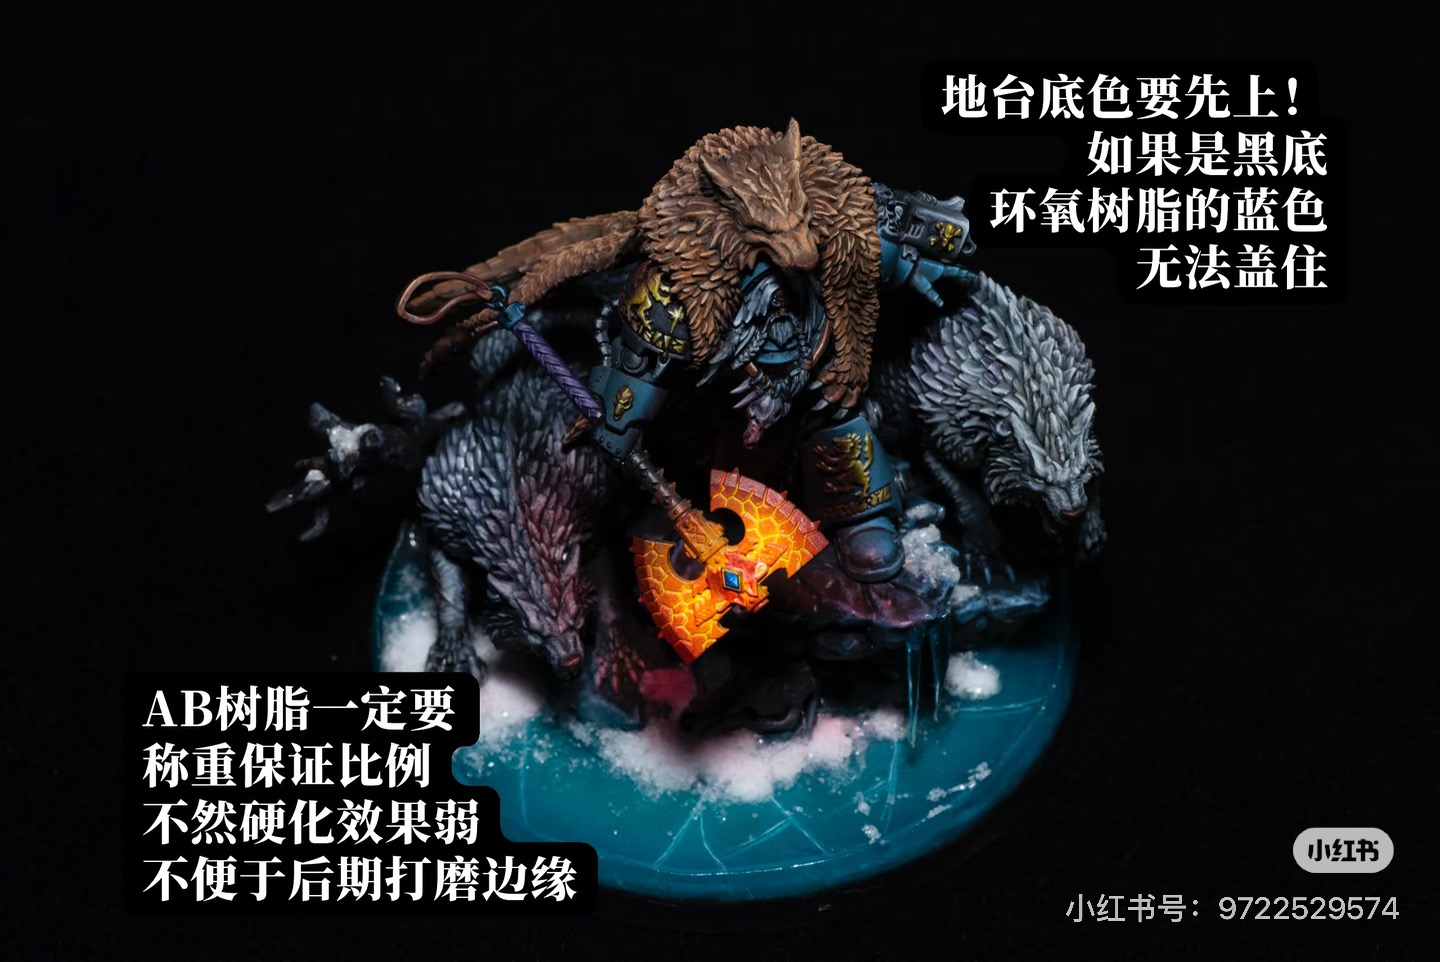
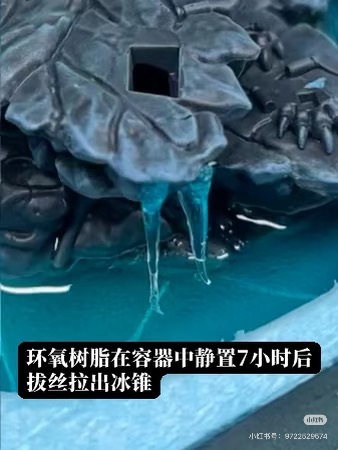
Epoxy resin is the foundation of any ice base. The single most important rule: weigh the two parts at the exact ratio. My first attempt failed because I eyeballed the mix — the edges never cured and I could not sand them smooth. After mixing, place the cup in an ultrasonic cleaner or warm water bath to remove trapped bubbles. Not optional for crystal-clear ice.
Step 2: Tinted Base Layer
Before pouring resin, spray a base color onto the base surface. Darker for deep ice caverns, lighter for sunlit tundra. For truly deep ice, pour in two layers: dark tint on bottom, light tint on top. This creates the illusion of depth.
Step 3: Snow Powder — Do Not Go Cheap
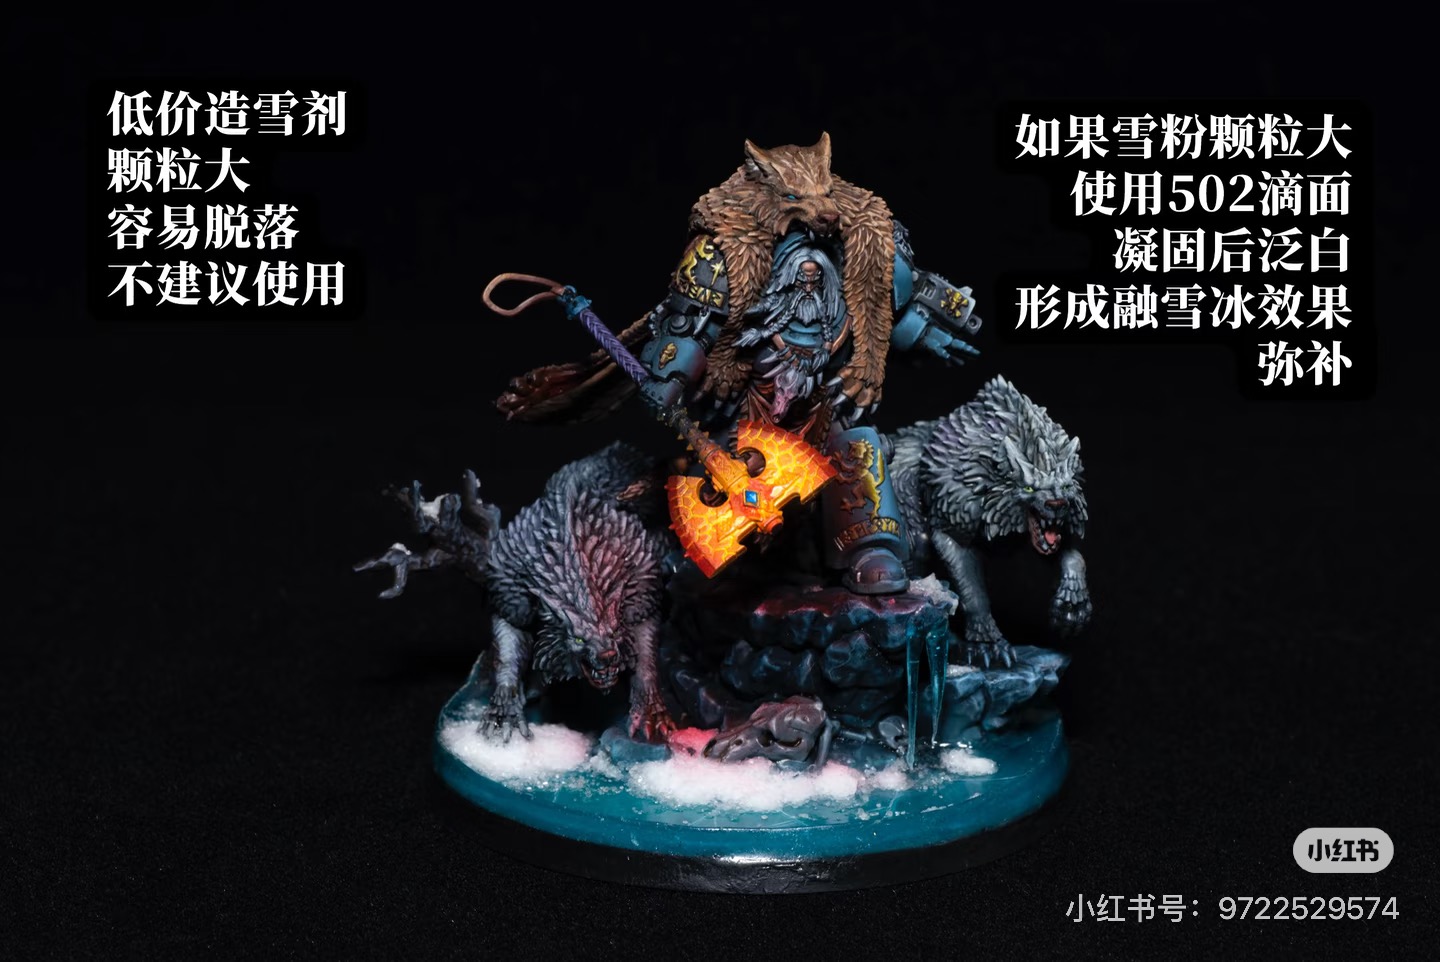
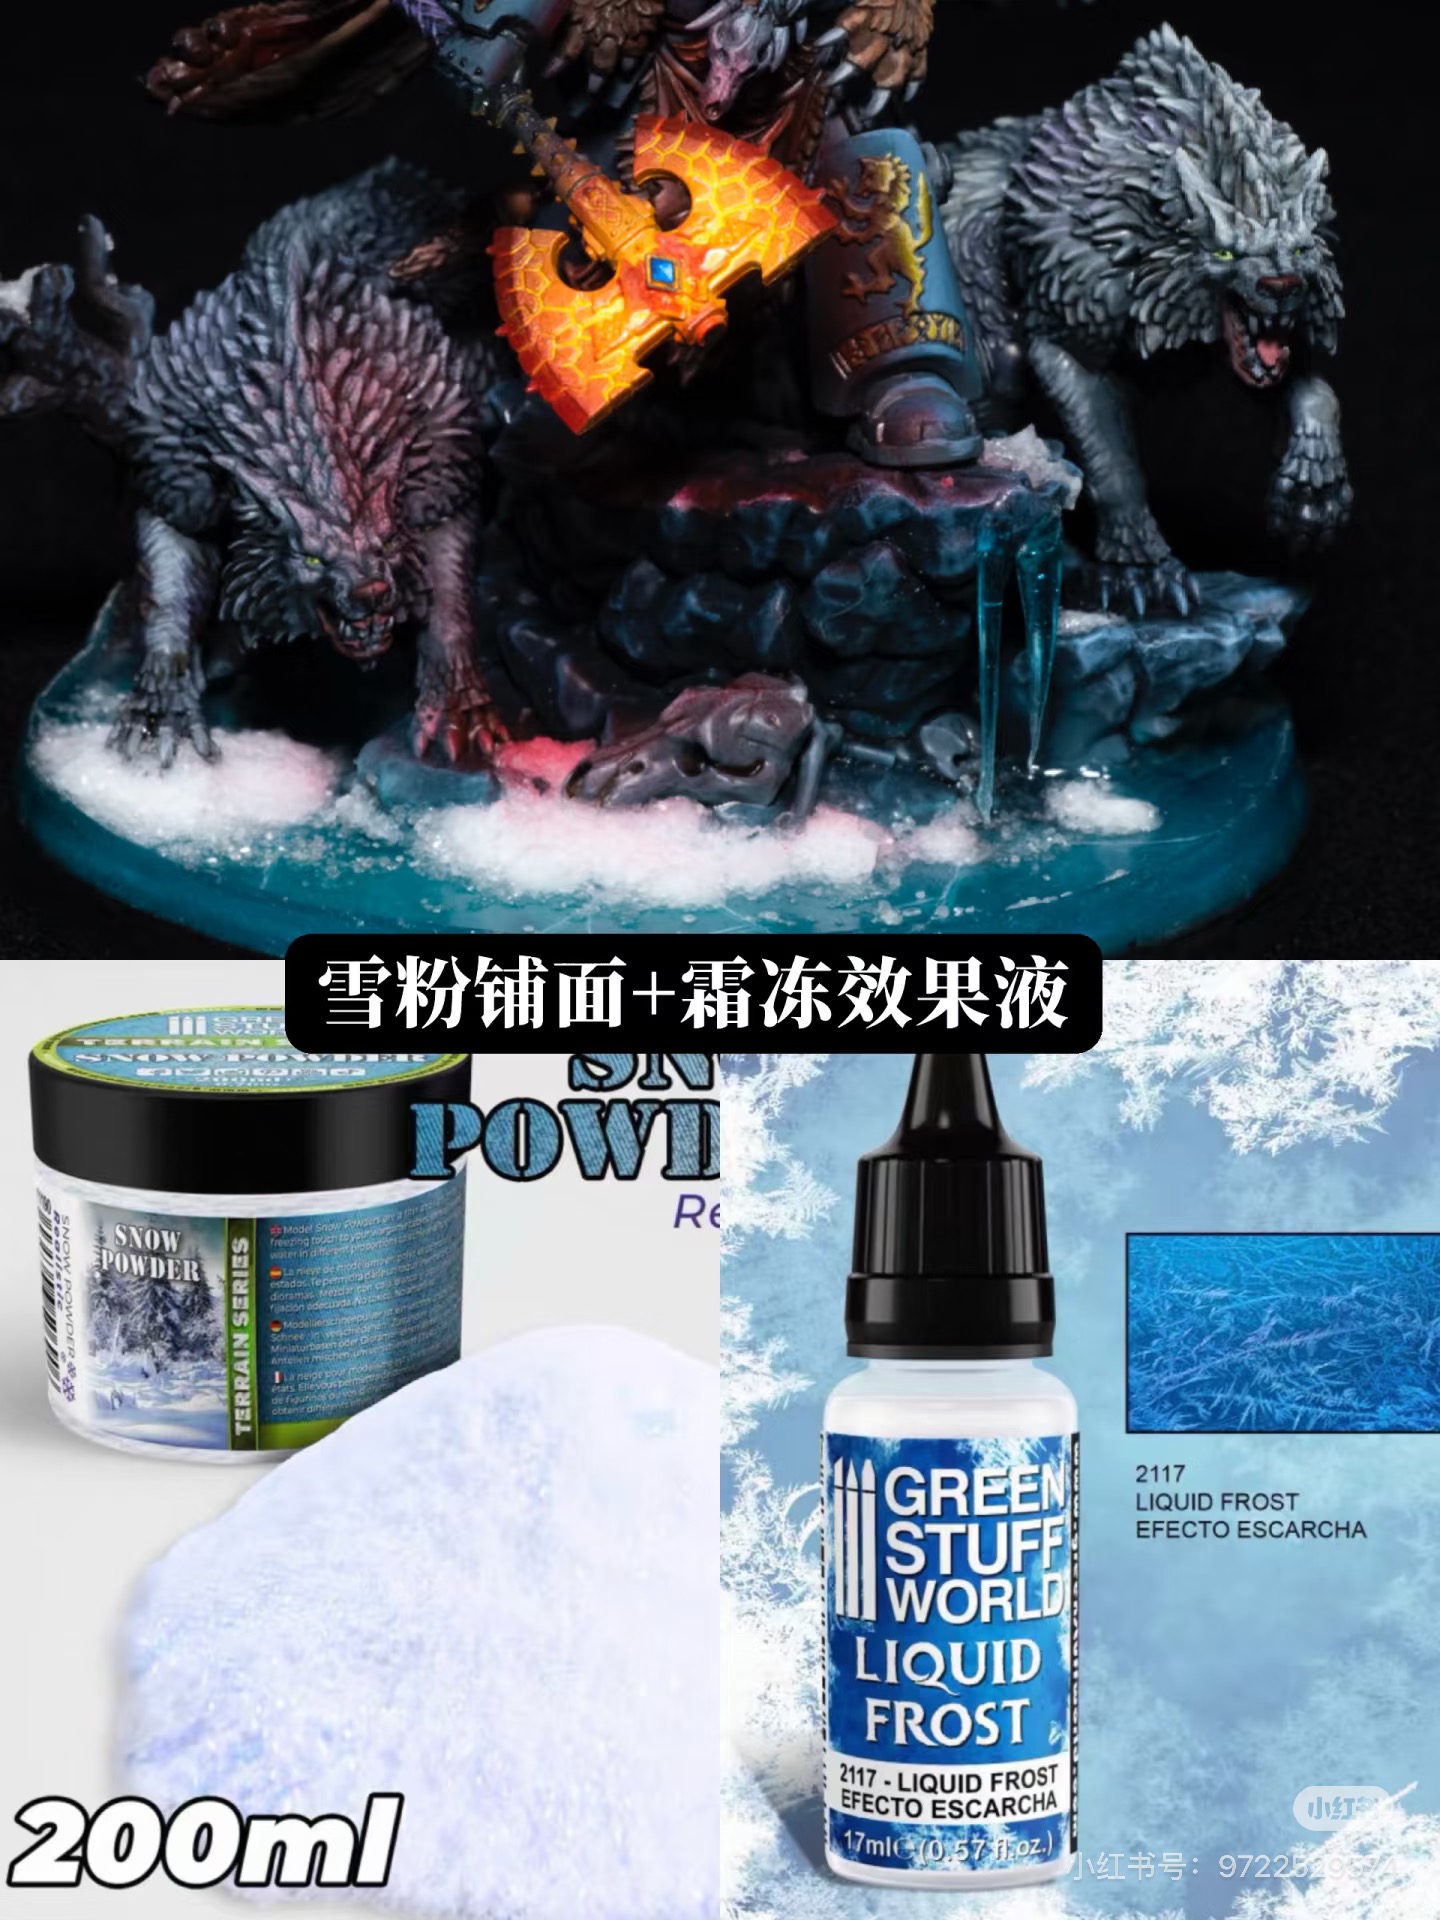
Cheap snow powder will ruin your base. Large gritty particles look artificial and shed constantly — after a few games your army leaves white dust across the table. If stuck with cheap powder, apply super glue over the top to create a fine frosted surface. But invest in quality modeling snow.
Step 4: From Resin to Ice
Cured epoxy resin looks like still water — not ice. Apply frost-effect liquid over the surface, then a light coat of matte varnish. The matte finish diffuses light the way real ice does. Without this, your resin pour looks like a puddle.
Quick Checklist
- Weigh resin precisely
- Ultrasonic cleaner for bubbles
- Base coat under resin
- Two-layer pour: dark bottom, light top
- Quality snow powder
- Frost liquid + matte varnish